Instagram, Facebook and WhatsApp in RevukCRM — Complete Guide
Customers reach out from different messengers — some prefer Instagram Direct, others reply under a post in Facebook Messenger, and some jump straight to WhatsApp after browsing your catalog. Switching between three apps means missed messages, forgotten leads and inconsistent service.
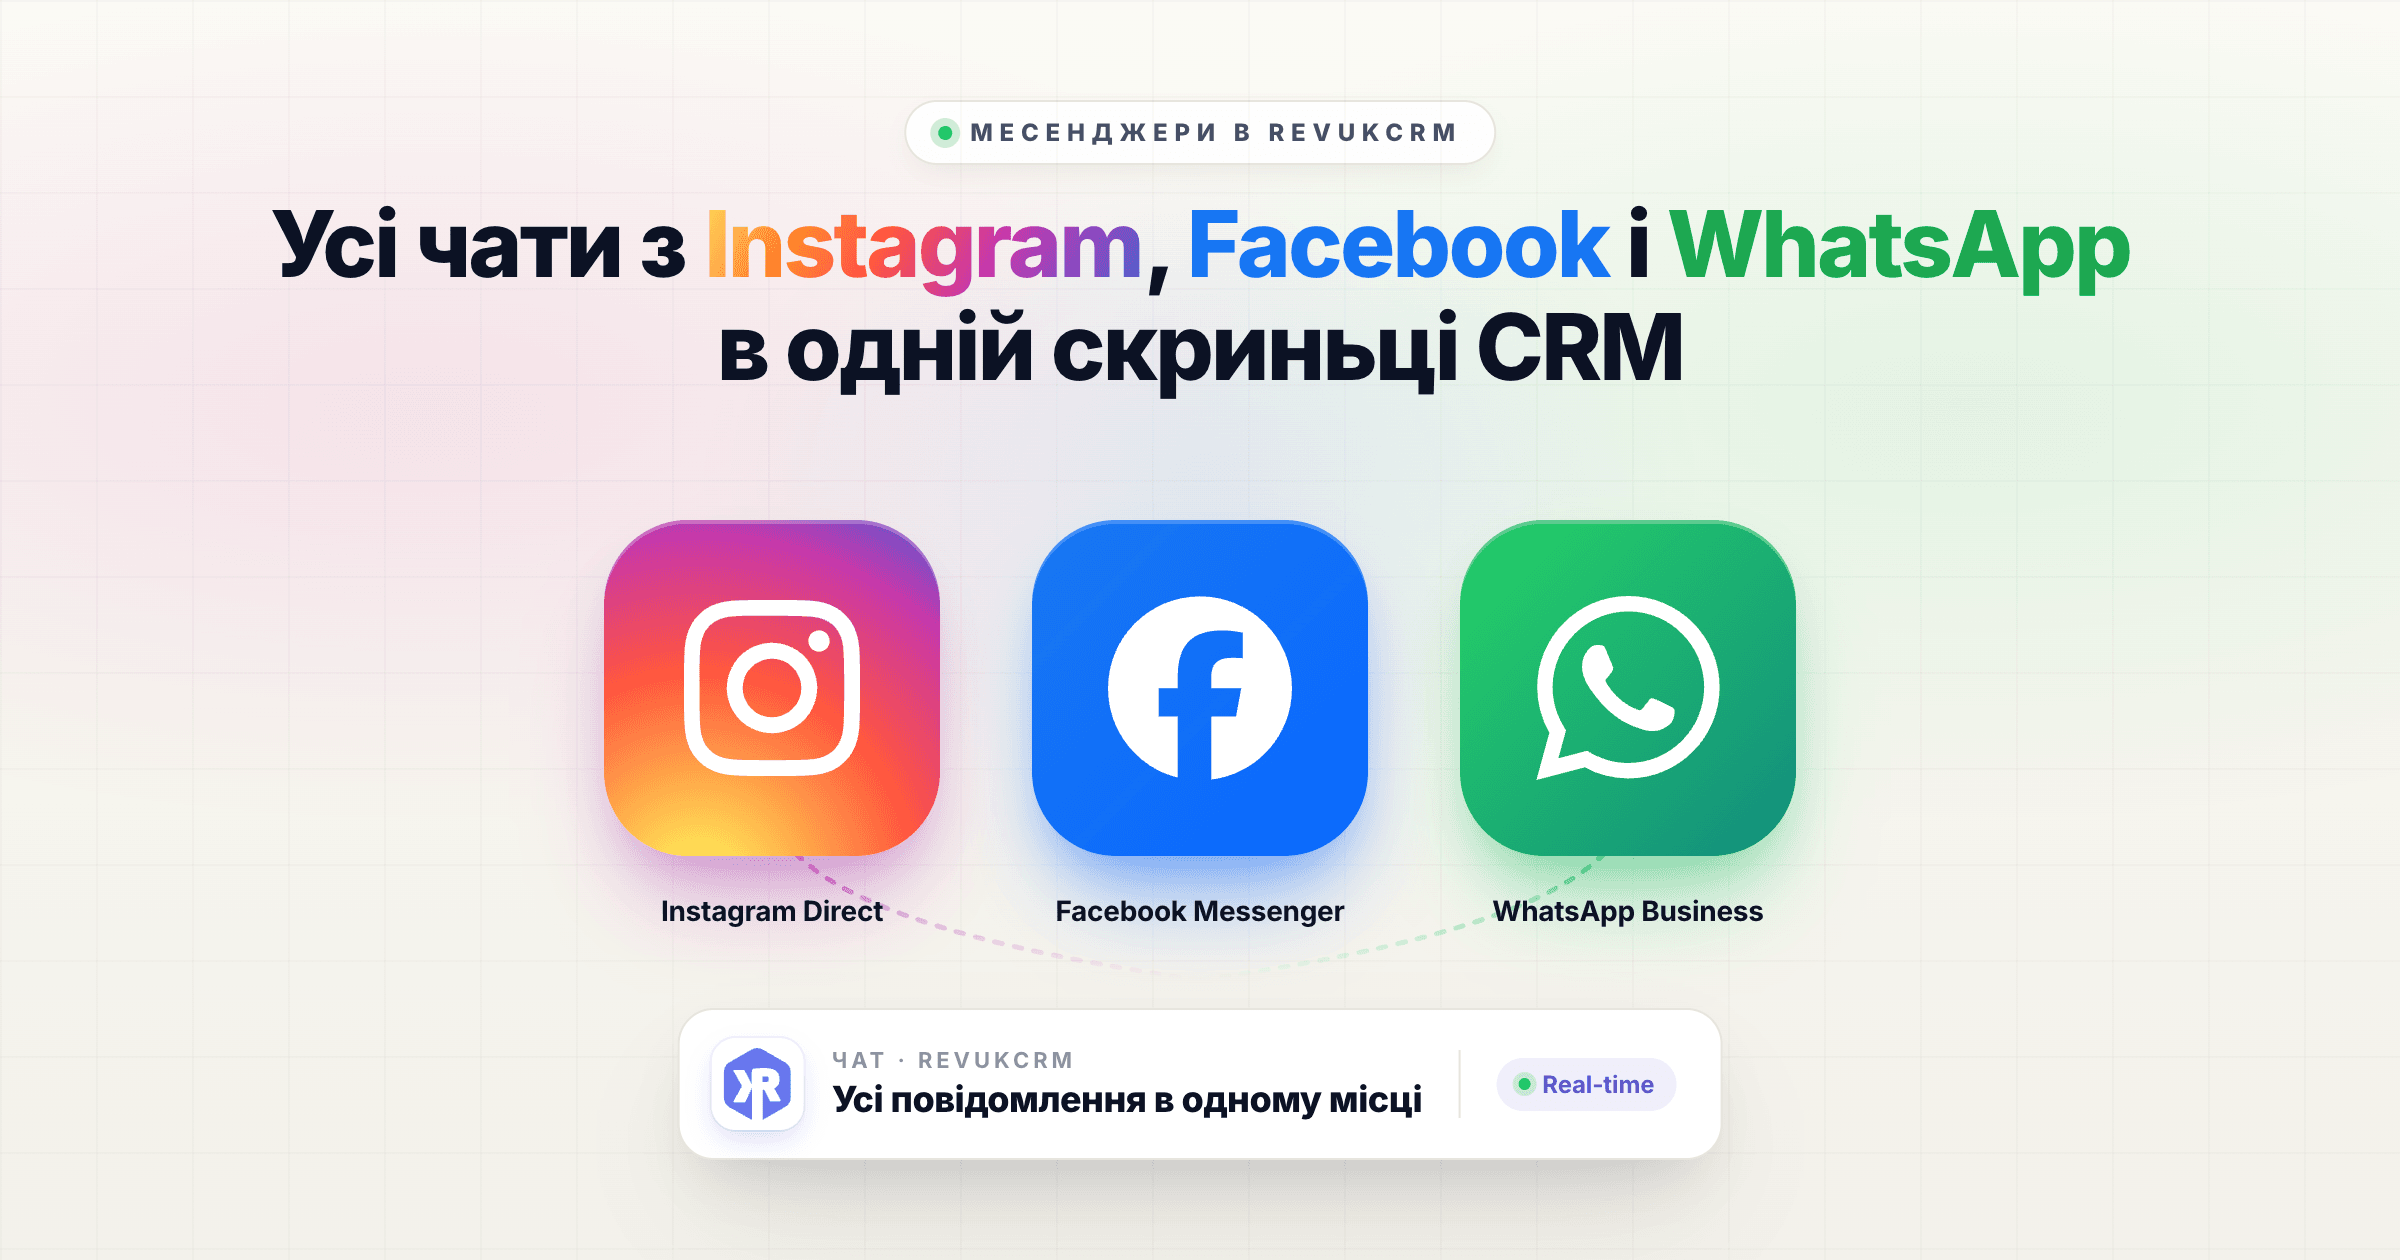
A single Meta Business messaging widget in RevukCRM brings all three channels into one place. Messages from your Facebook Page, Instagram Direct and WhatsApp Business appear in your Chat as regular conversations. You reply from there — and the customer gets the message in their own app.
This guide covers how to connect the widget and what the official Meta integration gives you.
What you get
- Three channels at once — Facebook Messenger, Instagram Direct, WhatsApp Business in a single widget
- All message types — text, photos, video, audio, files, stickers, locations
- Replies to Stories and Reels — they land in Chat as regular messages
- WhatsApp templates — approved templates for broadcasts and notifications that you can send outside the 24-hour window
- Automatic contact creation — a new sender shows up in your database instantly, with name and avatar
- Multiple accounts in parallel — connect several Facebook Pages, Instagram accounts and WhatsApp numbers at the same time
- Real-time sync — messages arrive instantly, no delays
Before you start
This is an official Meta API integration, so there are technical requirements — Meta doesn't allow connecting personal accounts. You'll need:
- Meta Business Account — a free business workspace in Meta Business Suite. If you don't have one, create it at business.facebook.com
- Facebook business Page — not your personal profile, but a page for your business or brand
- Instagram Business or Creator account — a regular personal Instagram won't work. In the Instagram app go to Settings → Account type → Switch to professional account. This account must be linked to your Facebook Page
- WhatsApp Business Account (WABA) — a separate business account in Meta with a verified phone number. Without verification + 2FA on the number, the WhatsApp Business API won't run
If you don't have WhatsApp Business yet, you can connect only Facebook + Instagram for now — the widget supports that. Add WhatsApp later.
Step 1. Find the widget in the marketplace
In the RevukCRM sidebar click Settings. Scroll down to the Integrations block — there are two cards. Click Widget installation (the second card labelled "Widget catalog and installation").
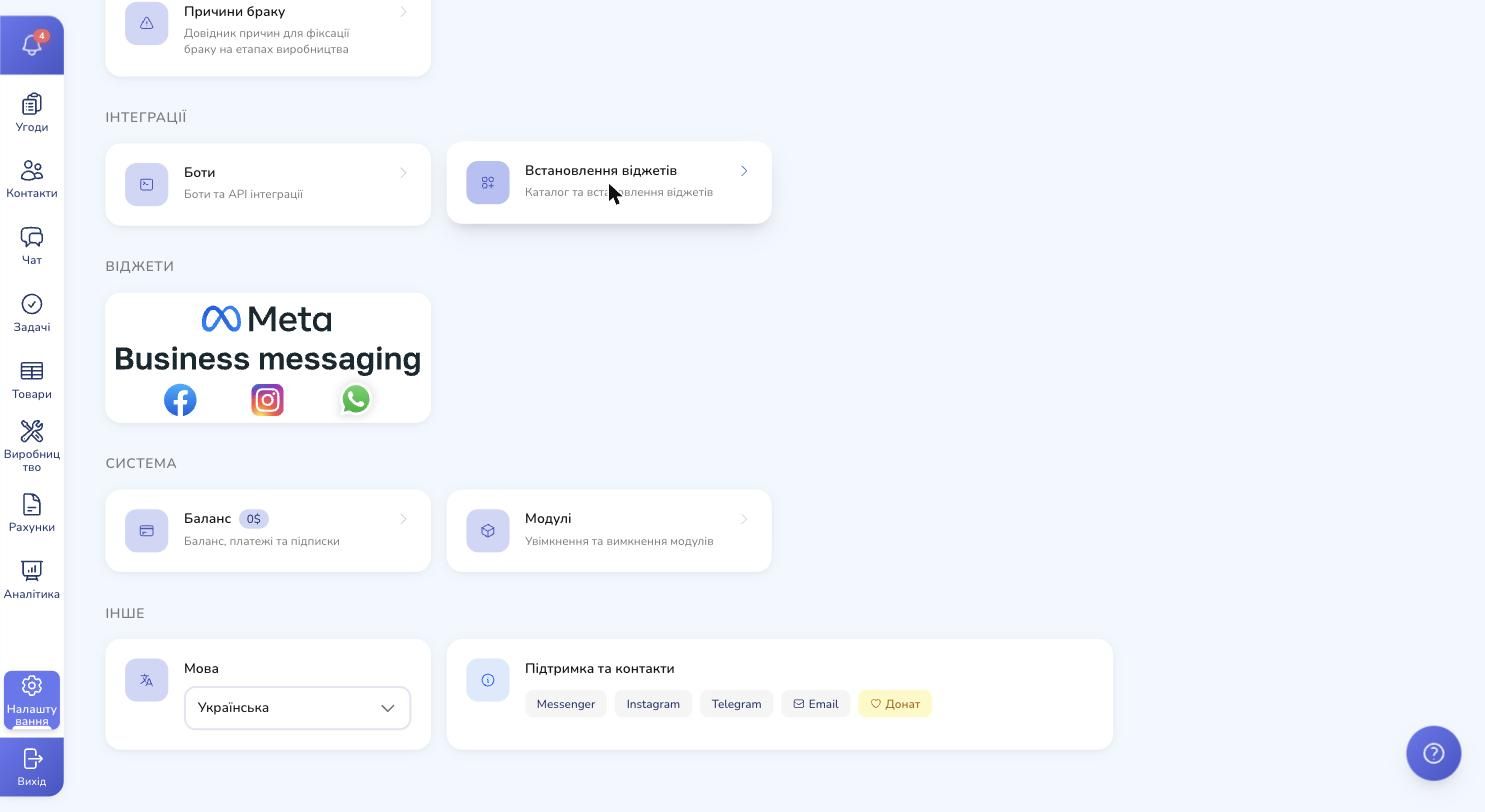
In the marketplace find the Meta Business messaging card — you'll recognize it by the Meta logo and three icons (Facebook, Instagram, WhatsApp) below it. This is our widget — one for all three channels.

Step 2. Review the widget description
Click the card. A modal opens with the description, features, installation steps and a permissions table.
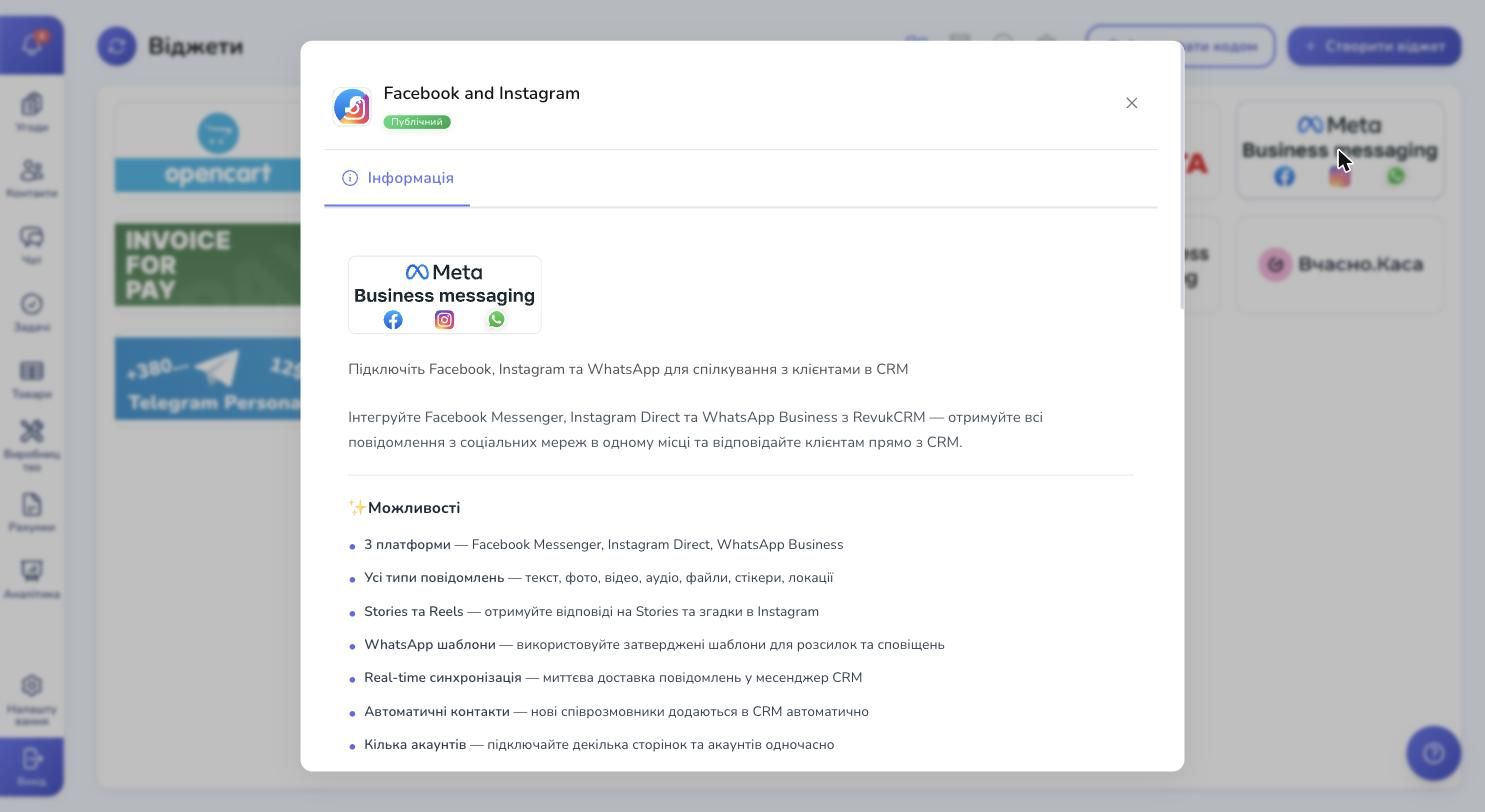
The "Features" block lists everything you get: three platforms in one widget, all message types, Stories replies, WhatsApp templates, the ability to connect multiple accounts in parallel.
Step 3. Check the installation instructions
Scroll the modal down — there's a "How to connect" block with four steps and a "Support" block with our team contacts (Telegram, Facebook, Instagram, email, phone) in case something goes wrong.
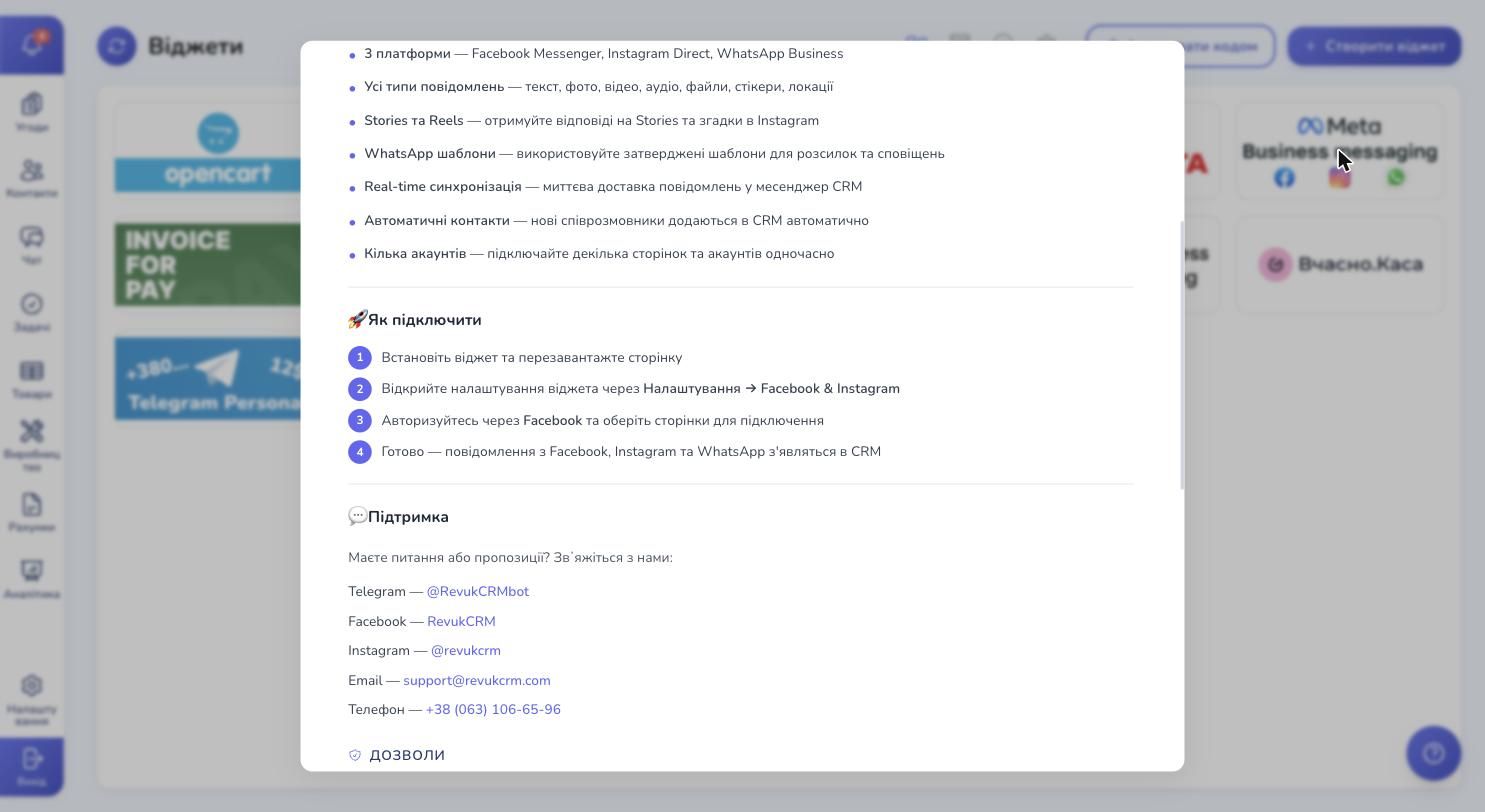
The sequence is simple: install the widget → reload the page → open the widget settings → authorize through Facebook and pick the pages. The whole thing takes 5–10 minutes, assuming you already have a Meta Business Account ready.
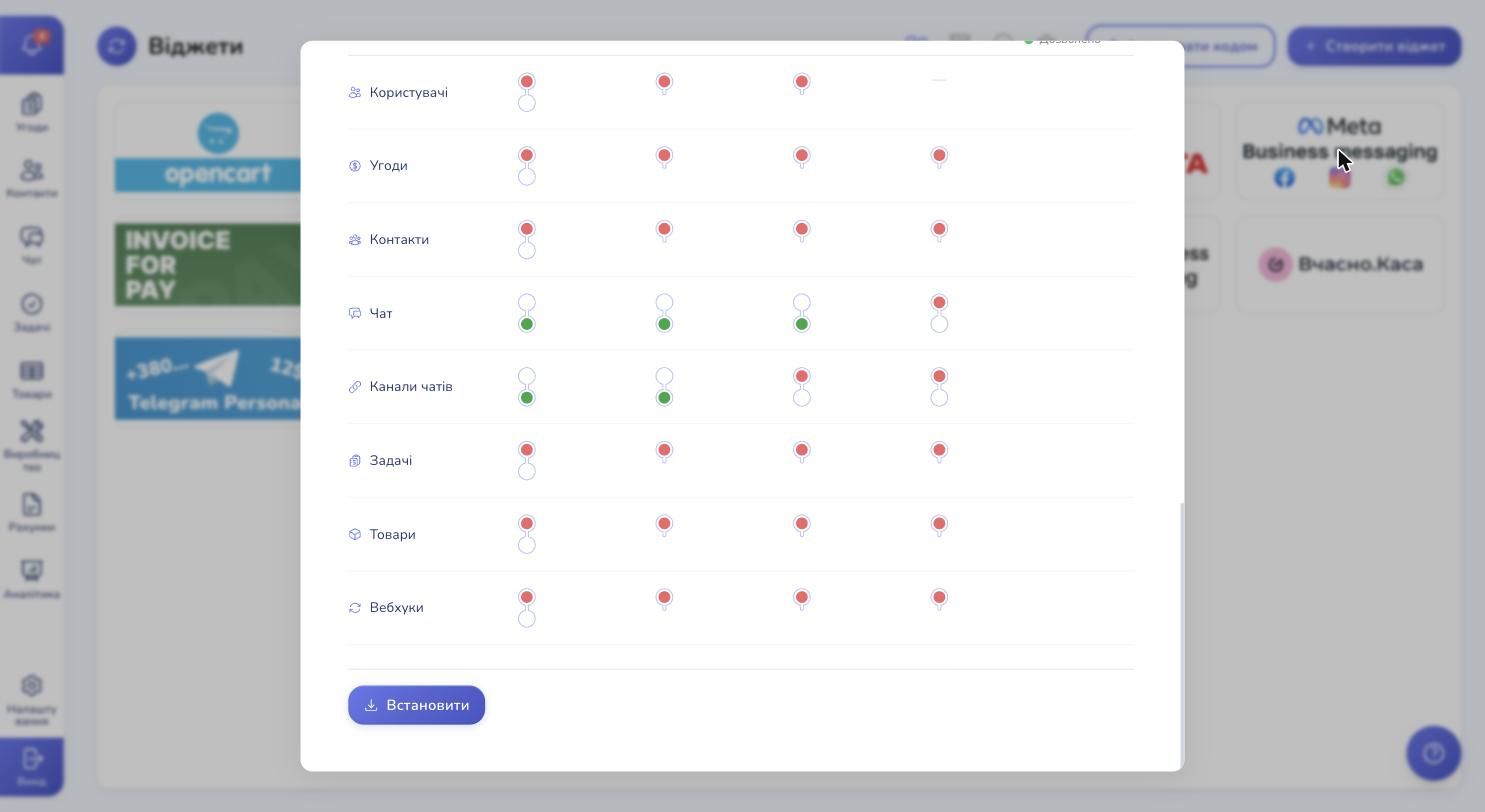
Step 4. Review the permissions
Below the steps is the "Permissions" table. It lists the CRM entities the widget gets access to.
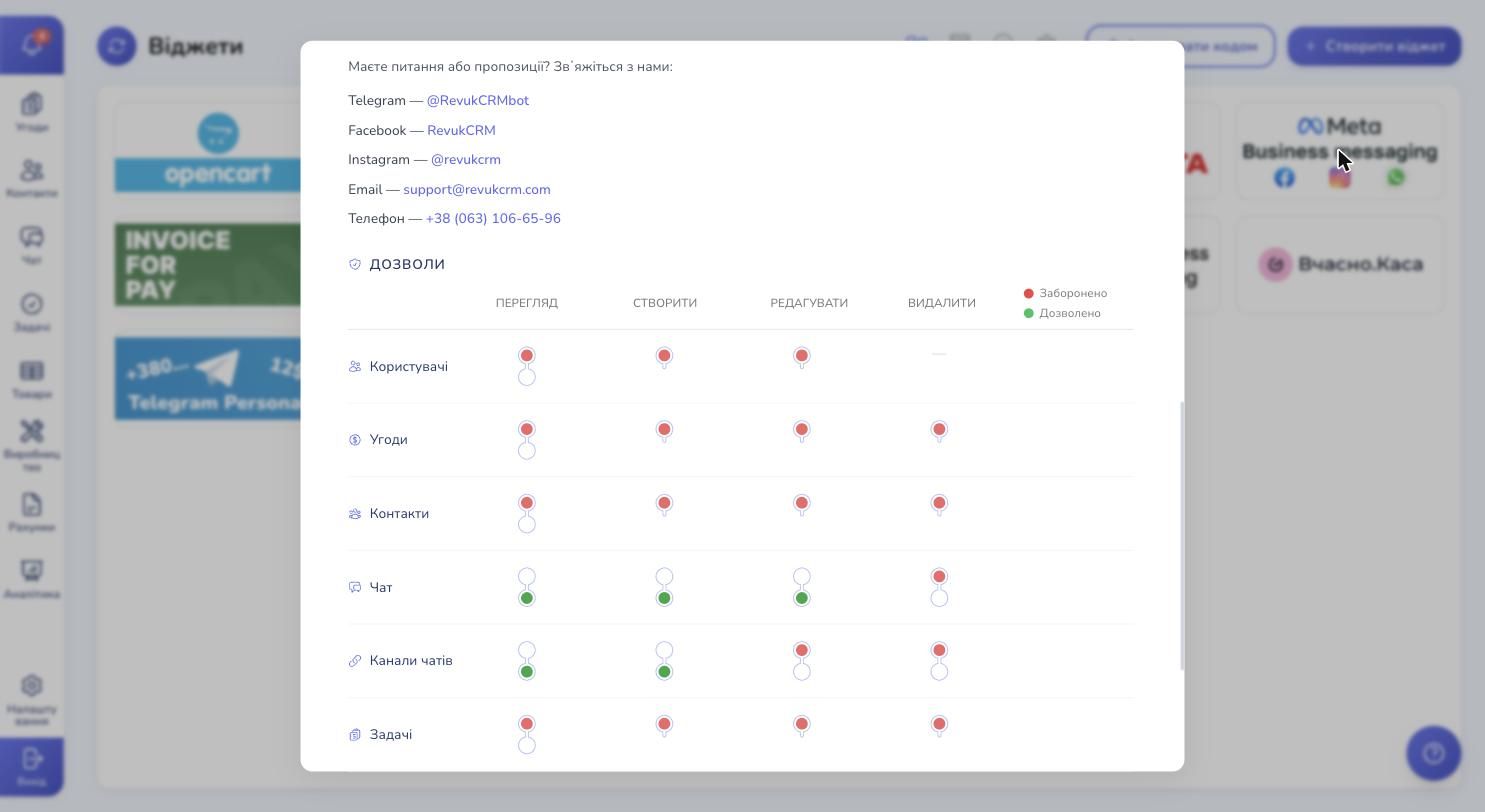
The critical ones for a messenger widget are Chat and Chat channels (green dots). They let the widget create new chats, add messages to them and modify the communication channels. Without these the integration won't work — messages from Facebook would have nowhere to land.
Contacts creation is also green, so when a customer writes you for the first time from a new number or account, they're automatically added to your contact database.
Step 5. Install the widget
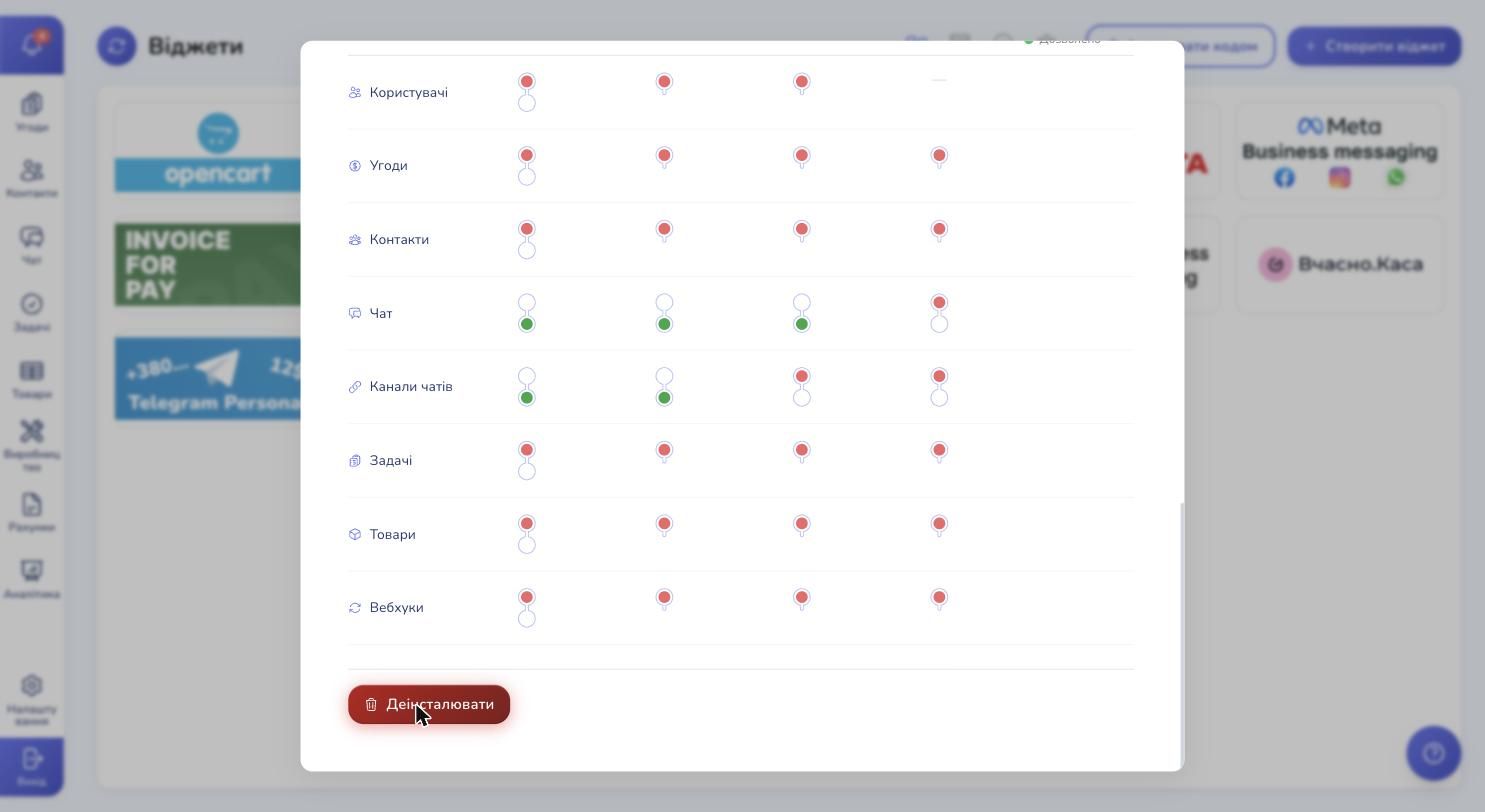
At the very bottom of the modal is the "Install" button. Click it.
Installation takes a few seconds. Once successful, the button turns red and changes to "Uninstall" — that's the confirmation the widget is now active in your account.
Reload the page (Cmd+R on Mac or Ctrl+R on Windows) — without it the new block in Settings won't appear.
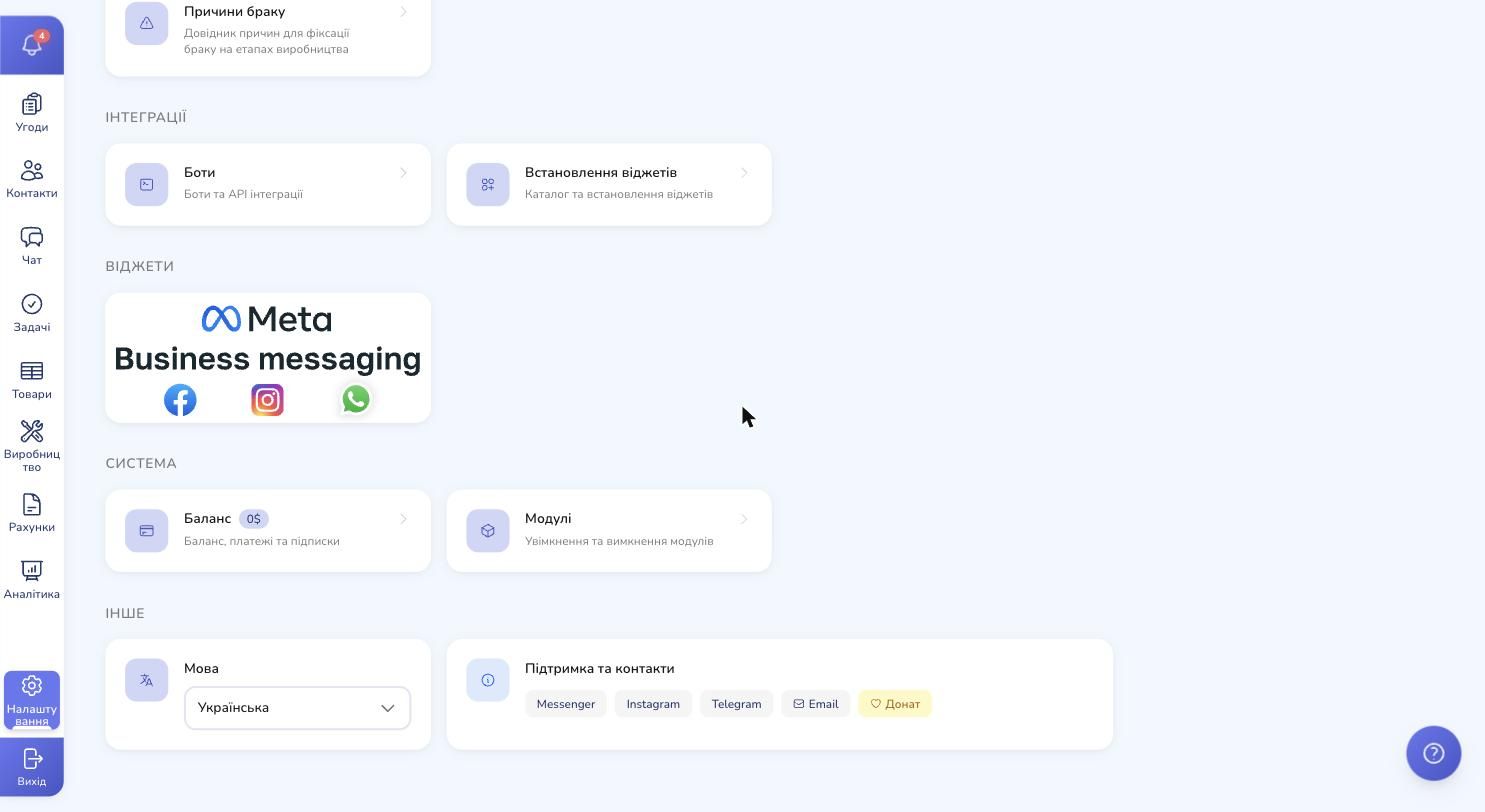
Step 6. Open the widget settings
Go back to Settings and scroll down to the "Widgets" block — the Meta Business messaging card is now there, with three logos (Facebook, Instagram, WhatsApp).
Click it — the widget interface opens.
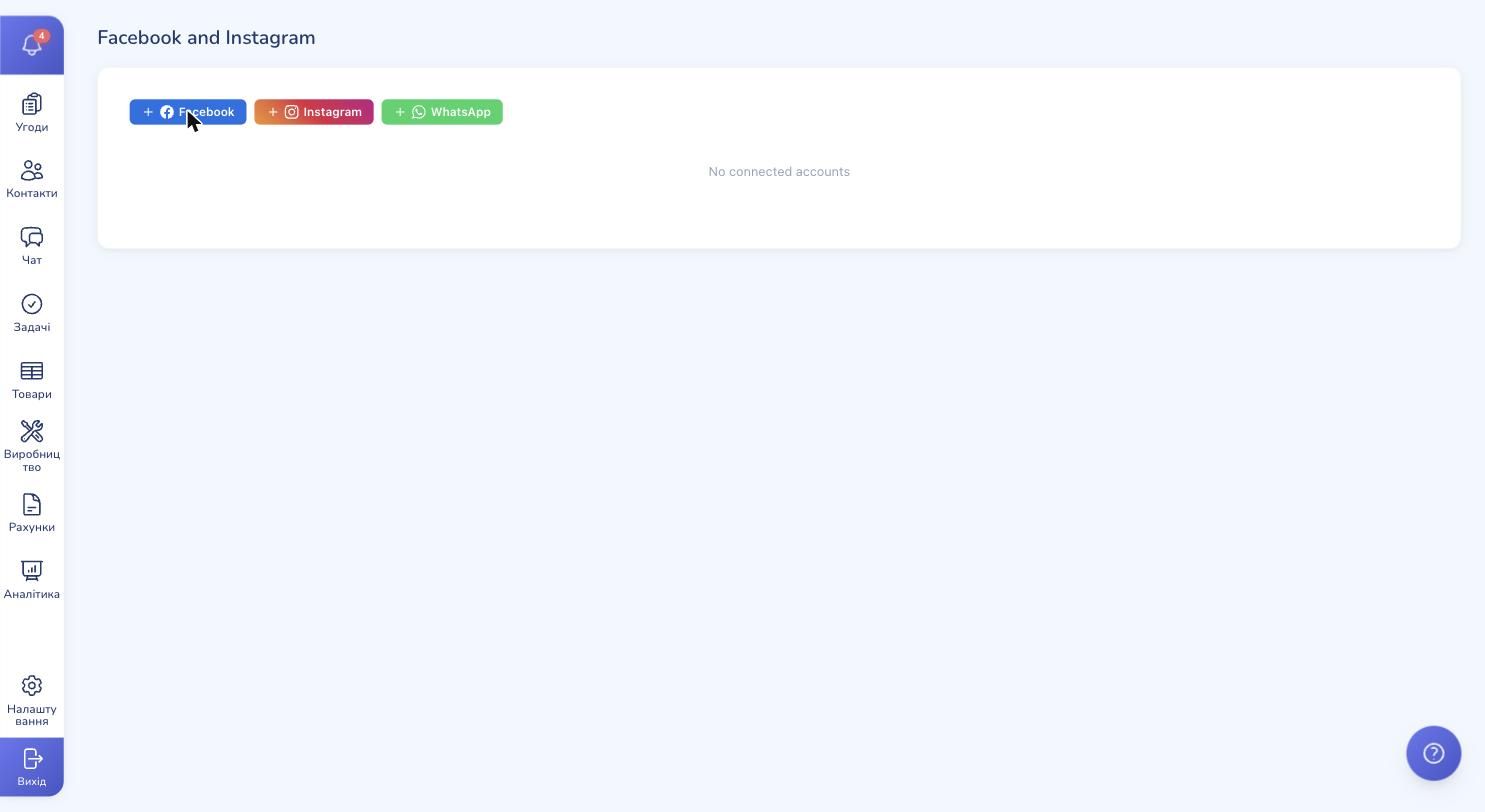
Step 7. The empty state
Inside the widget you see three colored buttons — blue Facebook, orange-red Instagram and green WhatsApp. Below them — "No connected accounts". Nothing is connected yet.

Each button kicks off a separate Meta authorization. You can start with any of them — the order doesn't matter, connecting one channel doesn't block the others.
Step 8. Connect Facebook
Click "+ Facebook" — the official Facebook Login dialog opens in a new window.
This is the official Meta mechanism — your passwords are never sent to us, authorization happens directly on Facebook. After login Facebook shows a list of permissions the widget is requesting: Page management, read and send messages, Business Manager access.
Review the list, confirm — and pick the Facebook Page (one or several) you want to connect. If you have several Pages under one Business Account, you can grab them all in one go.
After confirmation Facebook redirects you back to the CRM, and the connected Page appears in the list — now with the Page name and logo. From this moment on every Facebook Messenger conversation automatically lands in your Chat.
Step 9. Connect Instagram
Click "+ Instagram". The logic is the same as Facebook, with one important detail: Instagram must be a Business or Creator account linked to your Facebook Page. A personal Instagram won't appear in the list — Meta doesn't expose API access for private DMs.
To switch Instagram to Business:
- Open Instagram on your phone
- Settings → Account type and tools → Switch to professional account
- Pick the business category
- Link it to your Facebook Page
After that the OAuth list will show the available IG accounts. Pick yours — and Direct Messages plus replies to Stories and Reels start flowing into RevukCRM Chat.
Step 10. Connect WhatsApp
Click "+ WhatsApp". This flow is a bit longer — Meta requires a WhatsApp Business Account (WABA) with a verified business and a phone number that has WhatsApp Business API two-factor authentication enabled.
If you already have a WABA in Business Manager, Meta shows the list of your phone numbers, you pick the right one and it connects to the CRM. If WABA doesn't exist yet, Meta offers to create it right inside the OAuth window: enter the legal business name, category, attach a phone number, wait for the SMS verification code.
Important about WhatsApp limits: Meta only allows free-form messages within 24 hours of the customer's last incoming message. If the customer wrote you three days ago, a regular message won't go through. In those moments you send a template — a pre-approved text variant. Templates are created in WhatsApp Business Manager, approved by Meta (usually within a day) and then available in the widget's separate tab. This isn't our restriction — it's Meta's own spam-prevention policy.
What's next
After connecting at least one channel, messages start appearing in your Chat (sidebar → Chat). Every new sender is automatically added as a contact — with avatar and name from their Facebook or Instagram profile, or phone number for WhatsApp.
You reply from there like in any messenger: type text, attach a photo or file — the customer gets the message in their own app. If you have several managers, each one can take chats, assign owners and create reminders in Tasks.
Channels in automations
Connected channels become available in automations. For example:
- Auto-welcome for a new Instagram lead — the moment someone messages you in Direct for the first time, a bot sends "Hi! Thanks for reaching out. A manager will reply within 15 minutes" and creates a task for the assigned manager
- Auto-routing by channel — WhatsApp messages go to Elena, Facebook to Andrew
- Template replies — preset auto-responses for common questions ("How much is delivery?", "What are your hours?")
- Integration with deals — a messenger message creates a new deal in the pipeline with source "Instagram" or "WhatsApp", so you can see which channel generates the most sales
Multiple accounts in parallel
The widget lets you connect any number of Facebook Pages, Instagram accounts and WhatsApp numbers. Handy if your business runs several brands, regional pages or separate accounts for different product lines. Every chat lands in the same inbox, but you can see which channel the customer came from.
What's not there yet
To be honest — the integration covers direct messages, not everything Meta offers:
- Comments under Facebook and Instagram posts don't flow into Chat yet — only private messages
- Facebook Lead Ads — leads from ad forms aren't pulled in automatically yet; we're working on it
- Buttons and quick-reply in Messenger and Instagram aren't implemented — you send plain text and media
If any of these are critical for you — write us at @RevukCRMbot and we'll add them to the roadmap.
Ready to bring every chat into one inbox?
Try RevukCRM for free — connect Facebook, Instagram and WhatsApp in one evening and reply to customers from one shared team inbox.